
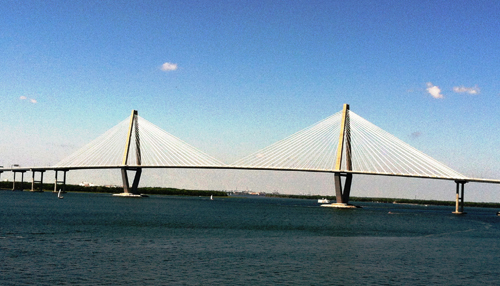
For example, I received the photograph above to use on a brochure and business card design. The image was high resolution, however the camera used was not a professional grade digital camera, resulting in a very grainy image. In order to be able to use the image, I took the following steps. First I erased the clouds to make the sky more uniform. Making the sky uniform enabled me to use a blur effect (under filters in Photoshop) to lose the graininess in the photograph. I then wanted to make the photo "pop". A while back, I stumbled upon a very cool technique called tilt shift photography used to make photographs appear to be images of miniature items. Below is a link to give you an idea of what tilt shift photography is
http://www.smashingmagazine.com/2008/11/16/beautiful-examples-of-tilt-shift-photography/
I learned that by attempting to recreate the tilt shift effect on low quality photos, the finished image gave the illusion of being a high quality professional image.
Below is the photograph after I added the effects.

Easy Tilt Shift Effect - Photoshop CS5
Step 1 - Use the box selector or ellipse selector to select 60 to 80% of the image
The shape you use is entirely up to you. I prefer the rectangle, but some photos might require the use of the elliptical selector.
Step 2 - Feather the selection.
This step is taken to ensure the selection area does not have a straight edge to it. Usually with a high resolution photo I choose to feather by 100-200 pixels, sometimes more.
Step 3 - Inverse your selection
Only the outer edges of the image should be selected.

Step 4 - Apply a Lens Blur
Select the "Filter" option in Photoshop, then "Lens Blur". Adjust the blur to any settings that you prefer, the image will preview using the settings that are selected making it easy for you to choose the blur that is right for you.

Voila... you have added a quick tilt shift effect to a photograph in 4 simple steps!